This document is aimed at providing a step-by-step tutorial on how to configure DKIM for Zendesk. Setting up DKIM for Zendesk will help emails pass DMARC alignment and another key benefit that you will experience is improving your domain reputation among ISPs that will ensure fewer chances of your emails being marked as spam.
How to Create Custom Domain for DKIM on Zendesk?
Log in to your Zendesk account
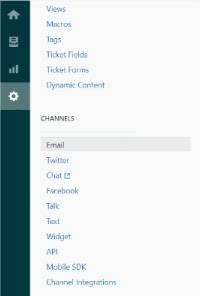
Navigate to Admin > Channels >Email
Navigate to “Custom domain for DKIM”. Here you will find 2 CNAME records to be added to your domain’s DNS for selectors zendesk1 and zendesk2
The two CNAME records would appear as zendesk1._domainkey.yourdomain.com pointing to zendesk1._domainkey.zendesk.com and zendesk2._domainkey.yourdomain.com pointing to zendesk2._domainkey.zendesk.com

Log in to your domain registrar’s management console
Publish the two CNAME records in your domain’s DNS
After the records are published in your DNS, head back to Zendesk and simple click on “Enable” checkbox in the “Custom domain for DKIM’ section
Click on save to create your custom domain for DKIM on Zendesk

With this, you have DKIM setup for Zendesk successfully.
You can lookup and validate your DKIM record for your domain using our free DKIM lookup tool
Type in your DKIM selector
Enter your domain name (e.g. yourdomain.com)
Click on Lookup DKIM

Sign for your free DMARC analyzer today!
