DNS Alerts in PowerDMARC
DNS Alerts in PowerDMARC enable you to monitor critical DNS-related changes and validation failures across your domains. Leveraging the enhanced PowerAlerts system, you can configure alerts with greater accuracy by selecting specific DNS event types, defining trigger conditions, assigning severity levels, and delivering notifications through centralized notification groups.
This article provides a step-by-step guide to configuring DNS Alerts and explains each configuration option to help you set up effective, actionable monitoring for your domains.
Step 1: Select Monitoring Entities
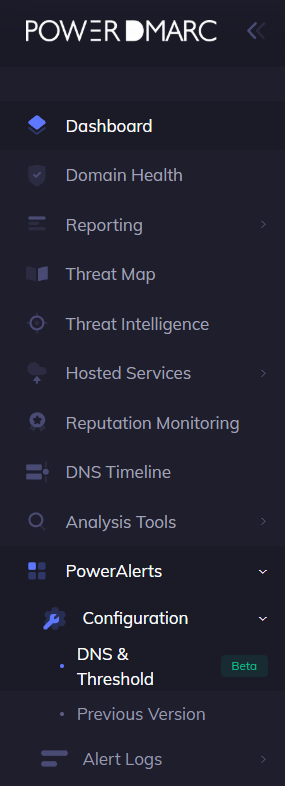
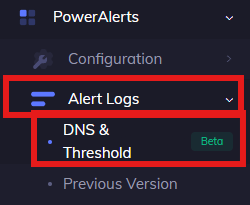
Navigate to PowerAlerts> Configuration> DNS & Threshold(Beta) in your PowerDMARC dashboard.
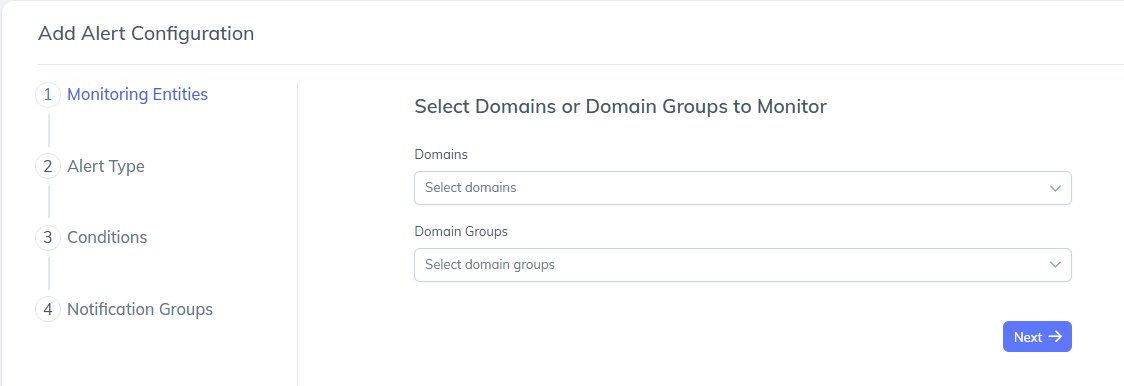
Click Add Alert Configuration.
Under Monitoring Entities, select:
One or more domains, or
A domain group (if you want to monitor multiple domains together).
Once selected, click Next.
Monitoring entities define which domains the DNS alert will apply to.
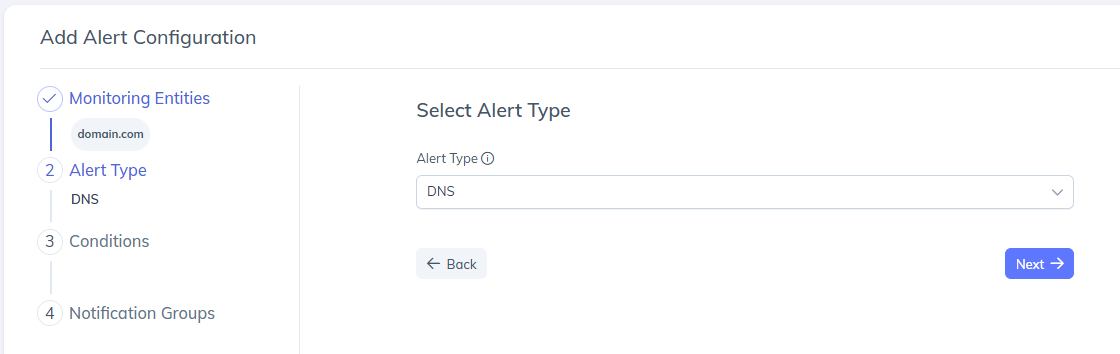
Step 2: Select Alert Type
In the Alert Type section, choose DNS from the dropdown.
Click Next to continue.
DNS alerts focus on changes or issues related to DNS records such as DMARC, SPF, DKIM, BIMI, MTA-STS, TLS-RPT, A, MX and NS.
Step 3: Configure Alert Conditions
This is the core step where you define what kind of DNS activity should trigger an alert.
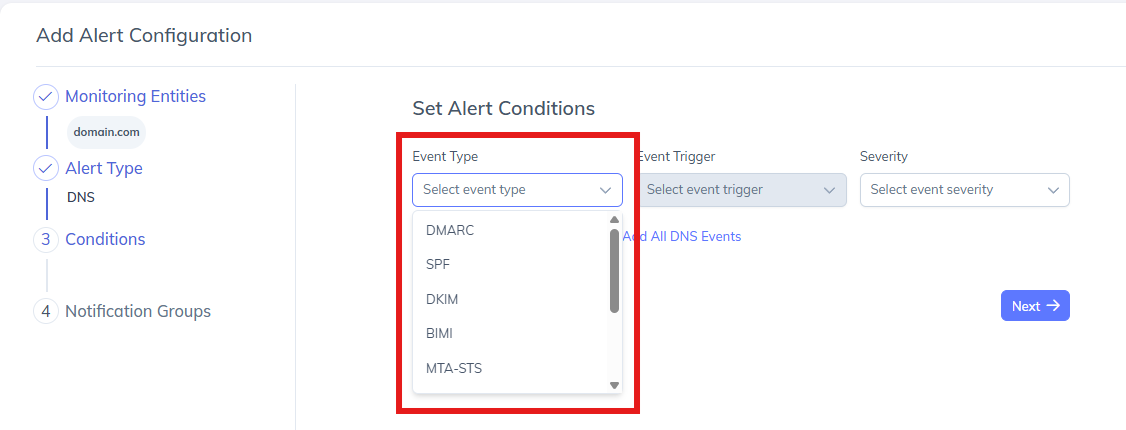
1. Select Event Type
Event Type determines which DNS record or authentication mechanism you want to monitor.
Available options include (but are not limited to):
DMARC
SPF
DKIM
BIMI
MTA-STS
TLS-RPT
A
MX
NS
You can configure alerts in multiple ways:
Single Event Type
Select one event type (e.g., DMARC) and configure conditions only for that event.Add New DNS Event
Use Add New DNS Event to include additional event types (e.g., SPF + DKIM) within the same alert configuration.Add All DNS Events
Select Add All DNS Events to apply the same trigger and severity rules to all supported DNS event types at once.
This flexibility allows you to create one consolidated alert instead of managing multiple separate alerts.
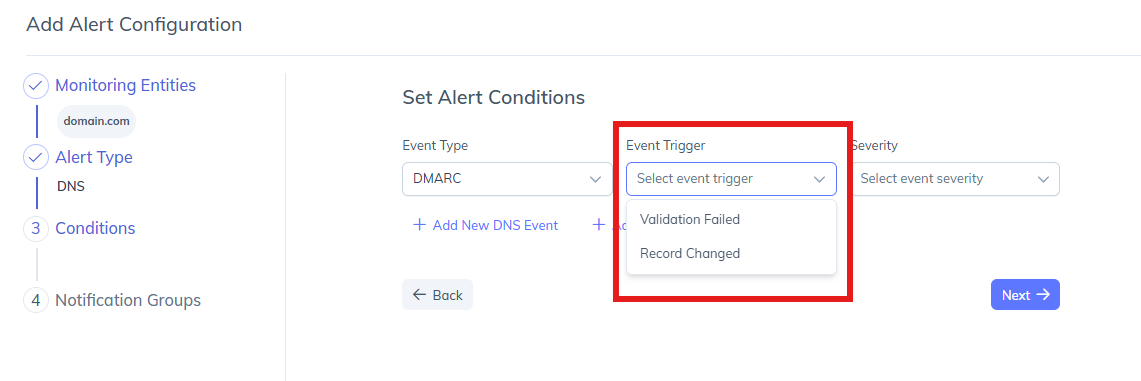
2. Select Event Trigger
Event Trigger defines what action or condition related to the selected event type will generate the alert.
Common event triggers include:
Record Changed
Triggers an alert when the DNS record is modified.
Example: A DMARC policy update or a change in SPF mechanisms.Validation Failed
Triggers an alert when a DNS record fails validation checks.
Example: Syntax errors, missing mandatory tags, or incorrect configurations.
You can choose the trigger that best aligns with your monitoring needs—whether you want to track configuration changes, validation issues, or both.
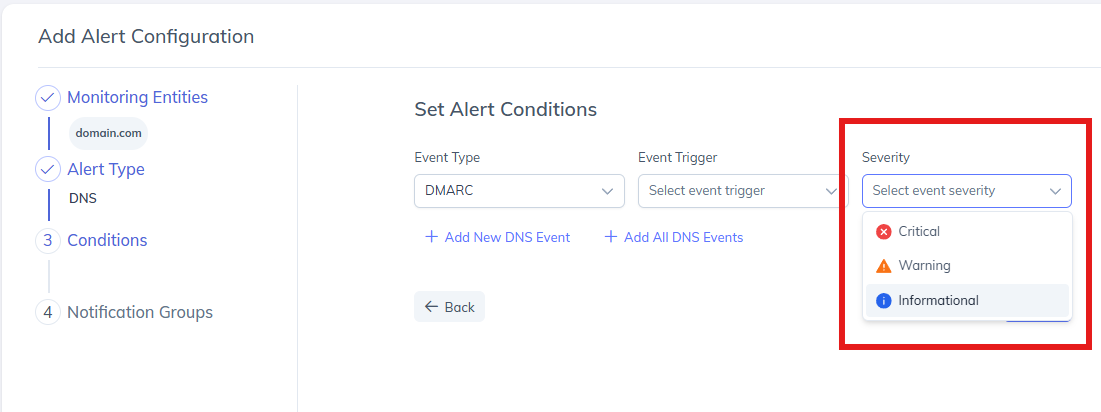
C. Select Severity Level
Severity determines how critical the alert is categorized, helping teams prioritize responses.
Available severity levels:
Critical
Indicates high-risk issues that require immediate attention (e.g., DMARC validation failures or critical record changes).Warning
Highlights potential issues that may not immediately impact email security but should be reviewed.Informational
Used for low-risk updates or awareness-only alerts (e.g., non-critical record changes).
Severity does not block or enforce actions, it helps with alert prioritization and escalation.
Once all conditions are set, click Next.
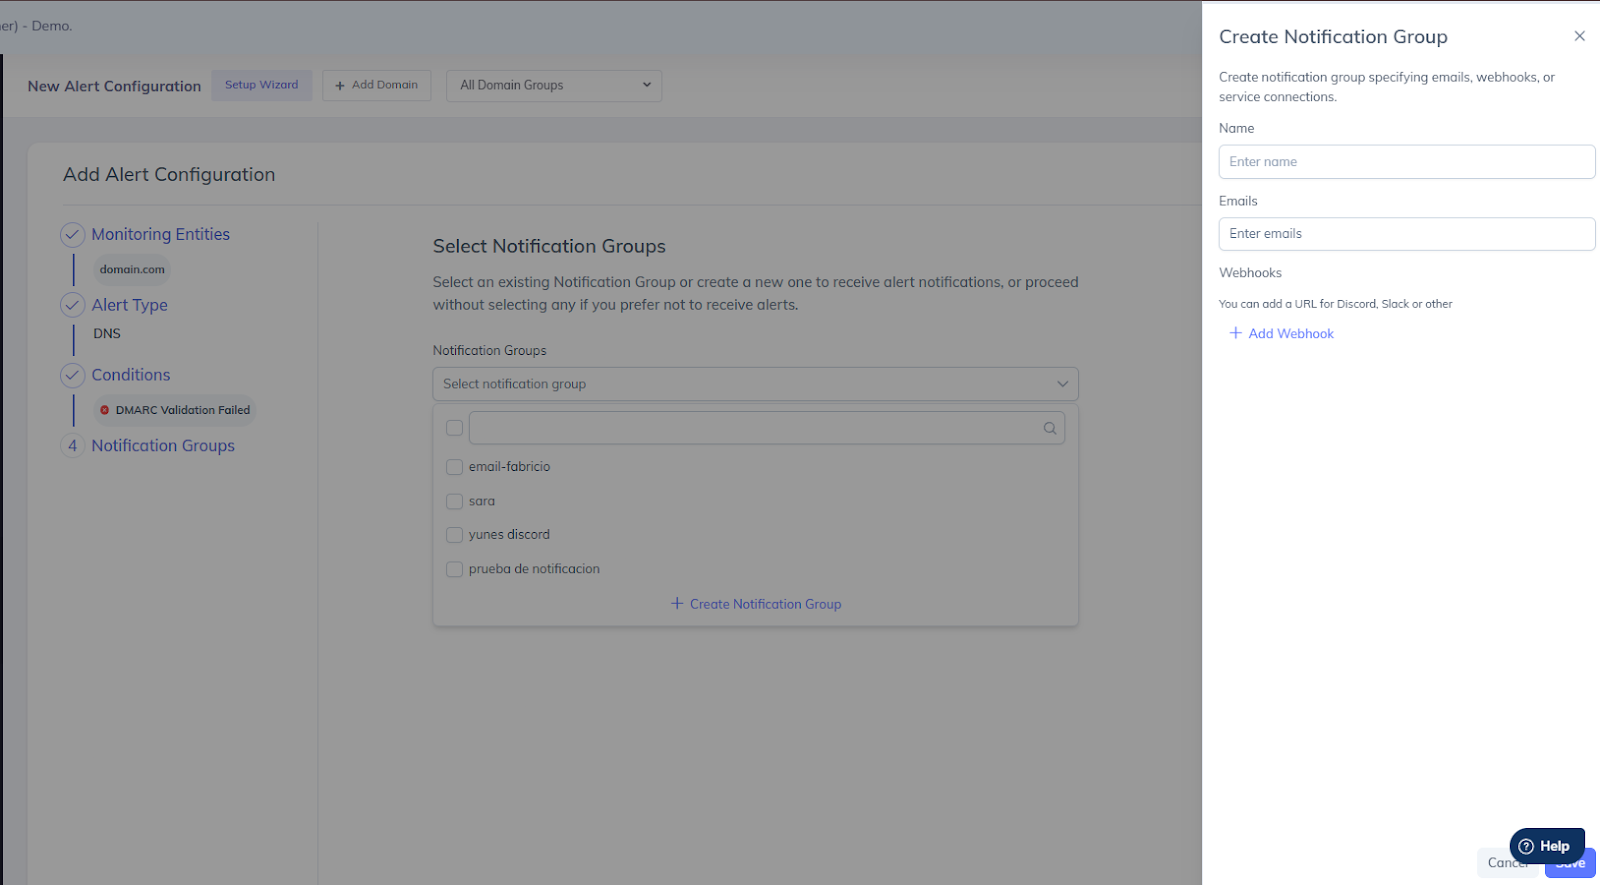
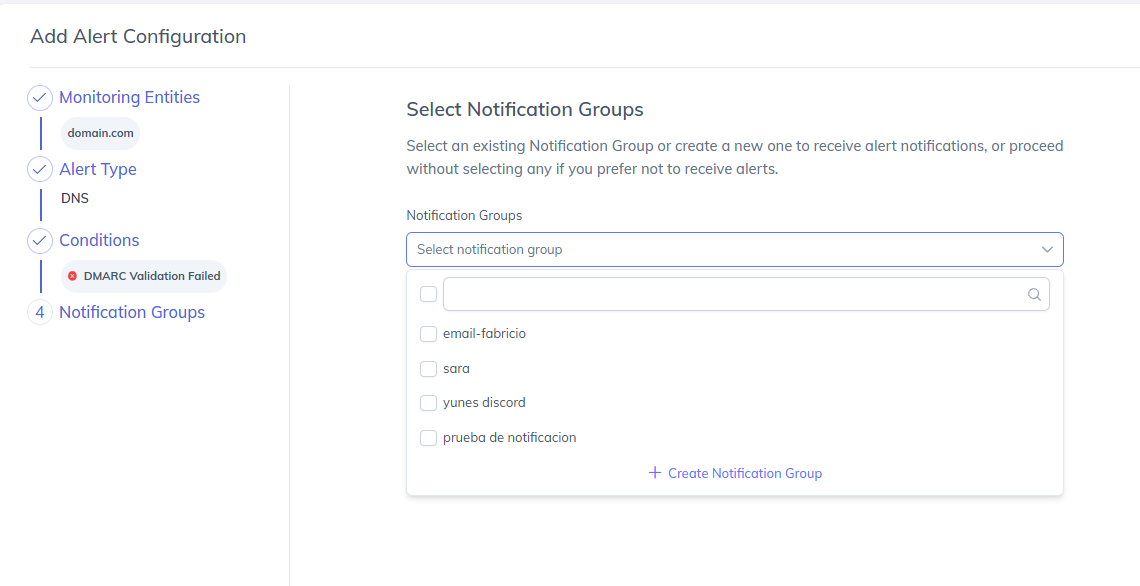
Step 4: Configure Notification Groups
Notification Groups define who receives alert notifications and how they are delivered. PowerDMARC allows you to either select an existing notification group or create a new one during alert configuration.
Option 1: Create a New Notification Group
If no suitable notification group exists, you can create one directly from the alert configuration flow.
Click Create Notification Group.
In the Create Notification Group panel, provide the following details:
Name
Enter a name to identify the notification group.
This name will appear when selecting notification groups for alerts.
Emails
Add one or more email addresses to receive alert notifications.
Multiple email addresses can be added as recipients.
Webhooks (Optional)
Use Add Webhook to configure webhook-based notifications.
Webhooks can be used to send alerts to third-party services such as:
Slack
Discord
Other supported service connections
Click Save to create the notification group.
Once created, the new notification group becomes available for selection and can be reused across multiple alert configurations.
Option 2: Select an Existing Notification Group
In the Notification Groups section, click the dropdown.
Select one or more existing notification groups from the list.
Proceed to create the alert configuration.
Selected notification groups will receive alerts through their configured delivery channels.
Note: You may also proceed without selecting a notification group if you only want alerts logged in the platform.
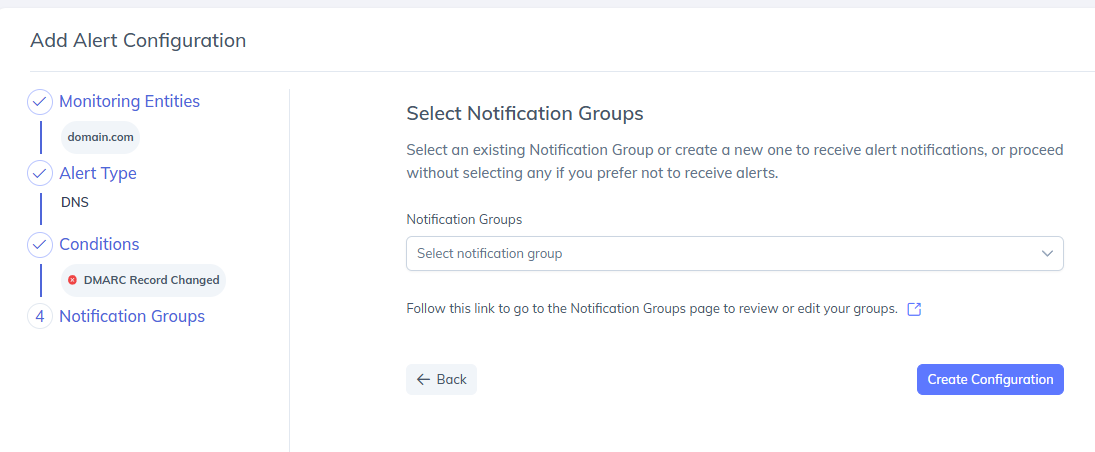
Step 5: Create Alert Configuration
Review the selected domains, alert type, conditions, and notification settings.
Click Create Configuration to save the alert.
Your DNS Alert will now start monitoring events based on the defined criteria.
Once done, you will start receiving DNS alerts on your email. Given below is the example of how a DNS email alert looks like:
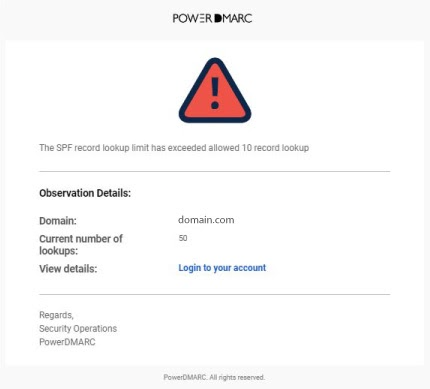
As you can see, the email provides you with important details at a glance, like:
The domain for which the alert was triggered
The reason why the alert was triggered
Option to view details by logging into your PowerDMARC account
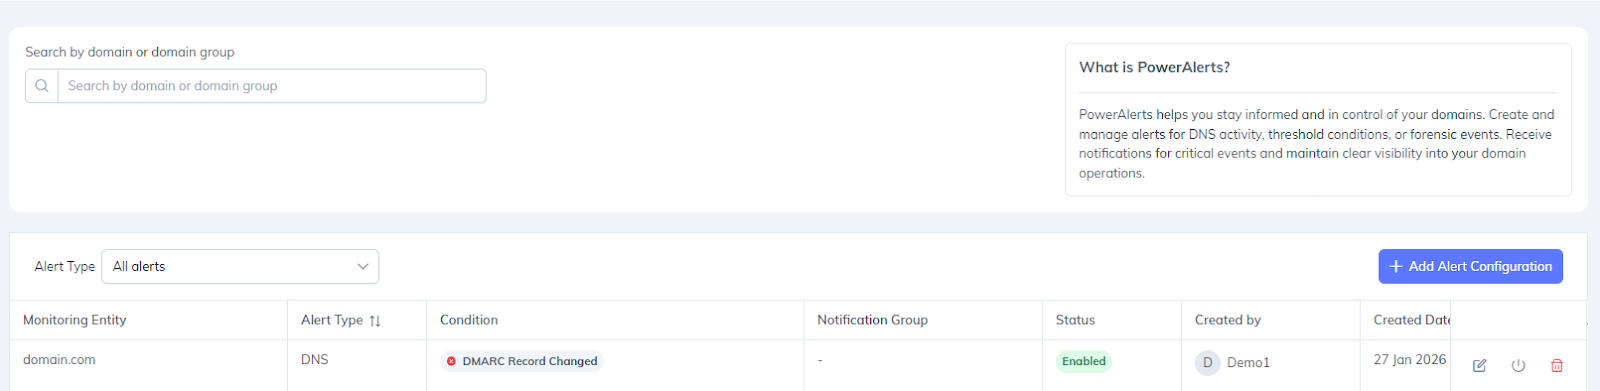
Viewing and Understanding DNS Alerts
On the Alerts page, you can view the history of all DNS Alerts triggered for your domains, along with a timeline indicating when each alert was generated and how its status has changed over time.
The enhanced alerting system improves visibility into both active incidents and resolved events, making it easier to track the full lifecycle of DNS-related issues.
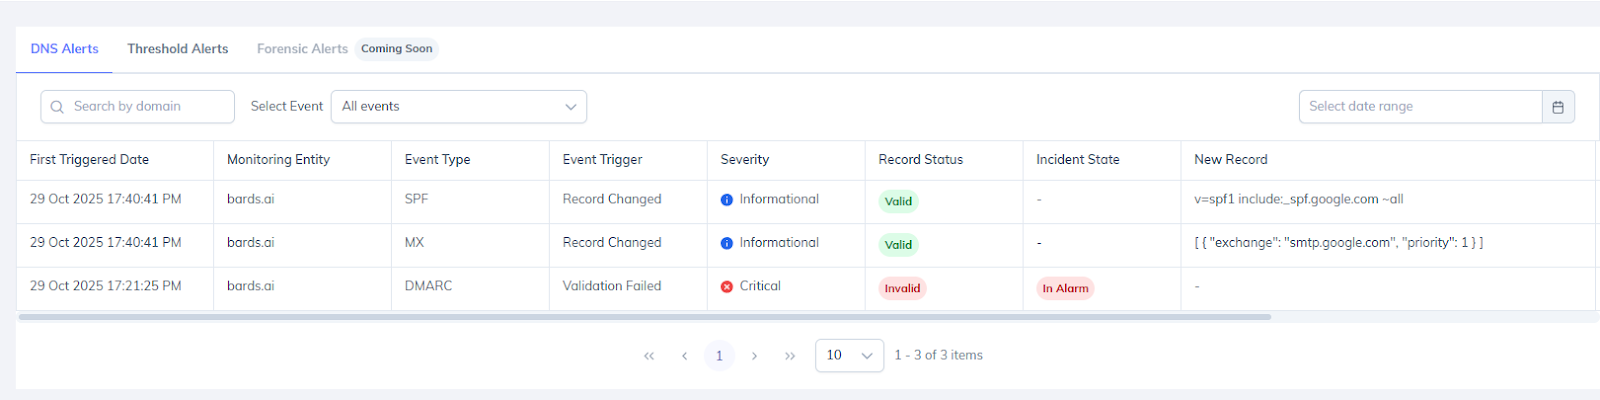
Filtering DNS Alerts
You can filter alert details using the following options:
Domain – Select a specific domain from the search bar to view alerts associated with it.
Record Type – Filter alerts based on the DNS record type, such as:
DMARC
SPF
DKIM
BIMI
MTA-STS
TLS-RPT
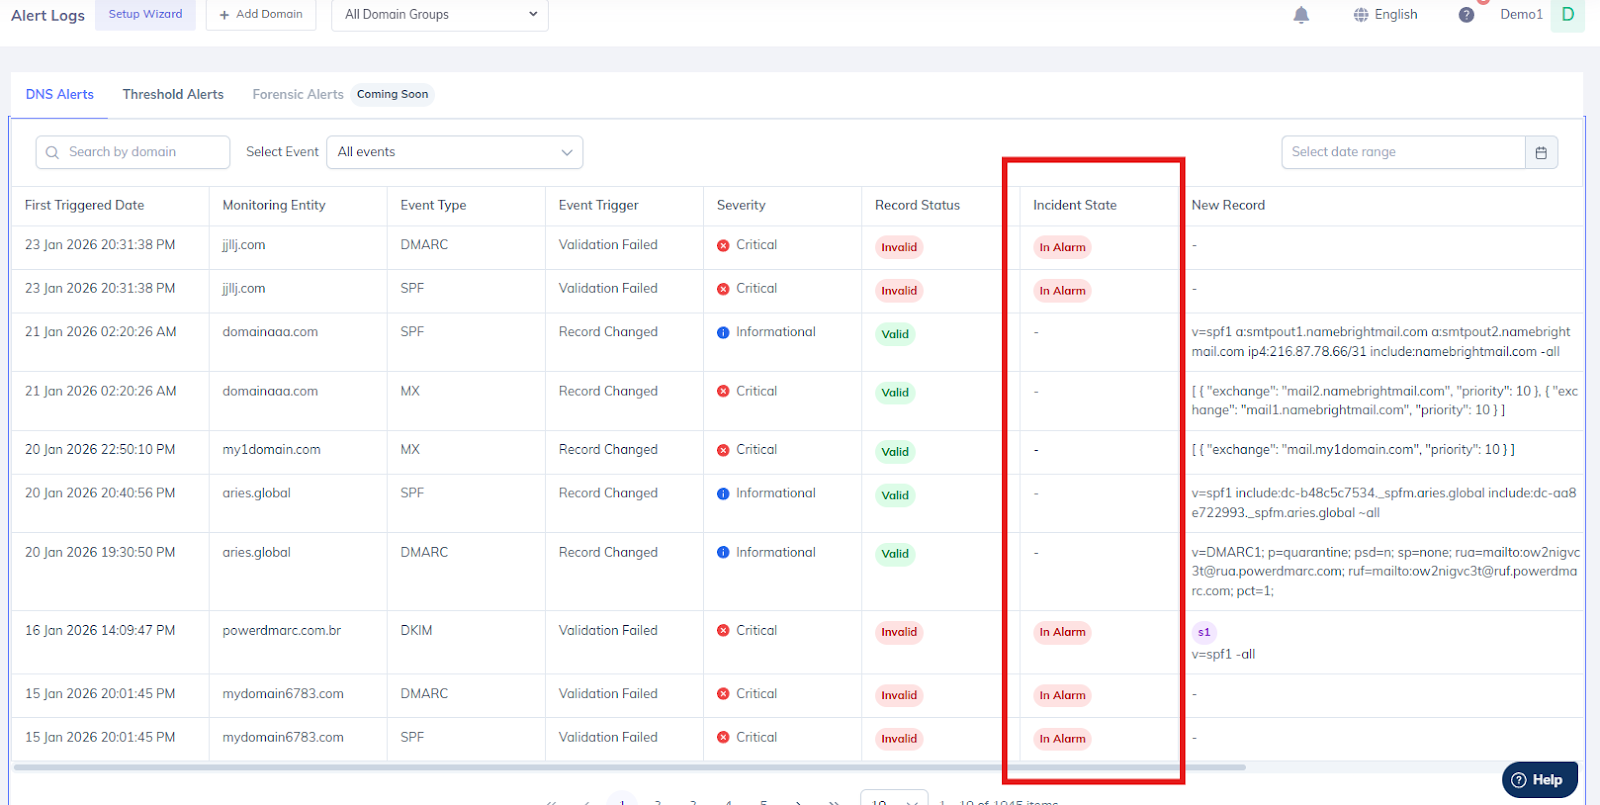
Incident State – Filter alerts based on their current status (explained below).
These filters help narrow down alerts and quickly identify issues that require attention.

Incident State (Updated)
The Incident State indicates the current status of an alert based on how the monitored value compares to the configured threshold or validation rules.
In Alarm
An alert enters the In Alarm state when the current day’s monitored value exceeds the defined threshold or when a DNS validation or change condition is triggered.
This represents an active incident that requires attention or corrective action.
In Alarm (Resolved)
An alert moves to In Alarm (Resolved) when:
It was previously in an In Alarm state, and
The monitored value later returns to normal or the issue is resolved.
This confirms that the incident is no longer active.
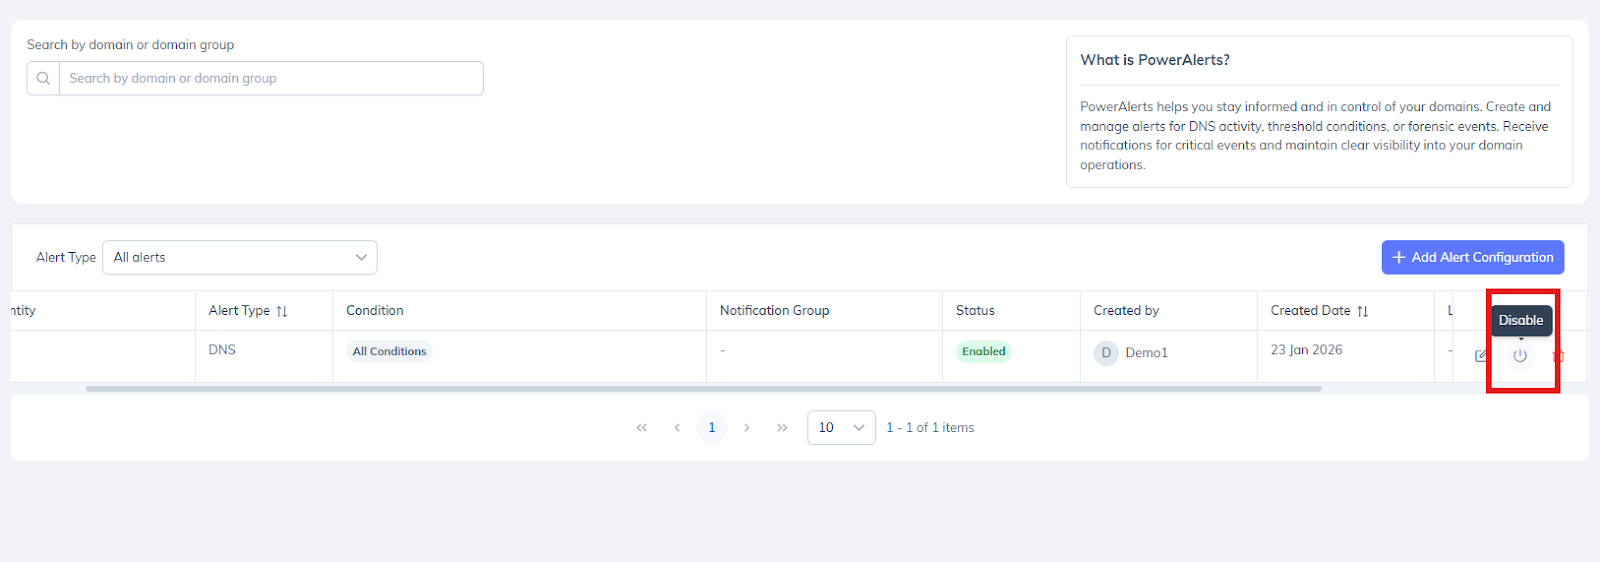
Disabling DNS Alerts
You can disable specific DNS alerts for any specific domains by unchecking the box, as shown below: